Interior Painters in Pasadena, CA

Interior painters in Pasadena: sheen by room, low odour paints, plaster and drywall repairs, and living in the house while it is painted.

What We Cover

Interior Painting in a Pasadena Home

Interior work is judged from a foot away, in daylight, by somebody who lives there. That makes it a different job from exterior painting: the surface preparation is finer, the cut lines matter, and the disruption to the household is part of the project. Many Pasadena homes have plaster walls, older trim with decades of coats on it, and rooms that were altered at some point, all of which shape how a repaint is approached.

Plaster Is Not Drywall

Older houses here often have plaster over lath rather than modern drywall. Plaster takes patching differently, it can be hollow in places where it has come away from the lath, and it sometimes carries a skim coat that reacts badly to heavy sanding. Testing a small area first, and patching with a compound suited to plaster, avoids turning a paint job into a repair job halfway through.

Sheen Is a Practical Choice

Flat paint hides wall imperfections and is hard to wipe clean. Eggshell and satin clean up better and show more of the surface underneath. Hallways, kitchens and children's rooms usually want the more washable end, while ceilings and formal rooms take flat. Trim and doors are typically a step up in sheen from the walls, which is as much about durability as contrast.

Colour Under Local Light

Strong daylight changes how a colour reads, and rooms facing different directions will not match even with the same paint. Testing a sample on the actual wall, and looking at it morning and evening, is worth the delay. The old rule about testing on more than one wall applies here more than in most places, because bright sun through a window can wash a colour out completely on that side of the room.

Living Through the Work

A room at a time is slower and easier to live with; the whole house at once is faster and means moving out of the way. Either way, furniture needs to be moved to the centre and covered, floors protected, and switch plates and hardware removed rather than painted around. Ventilation matters while coatings cure, and low odour products make an occupied house far more comfortable during the work.

Latest Guides

Bathroom Repaints: What Painting Contractors Do Before They Open a Can
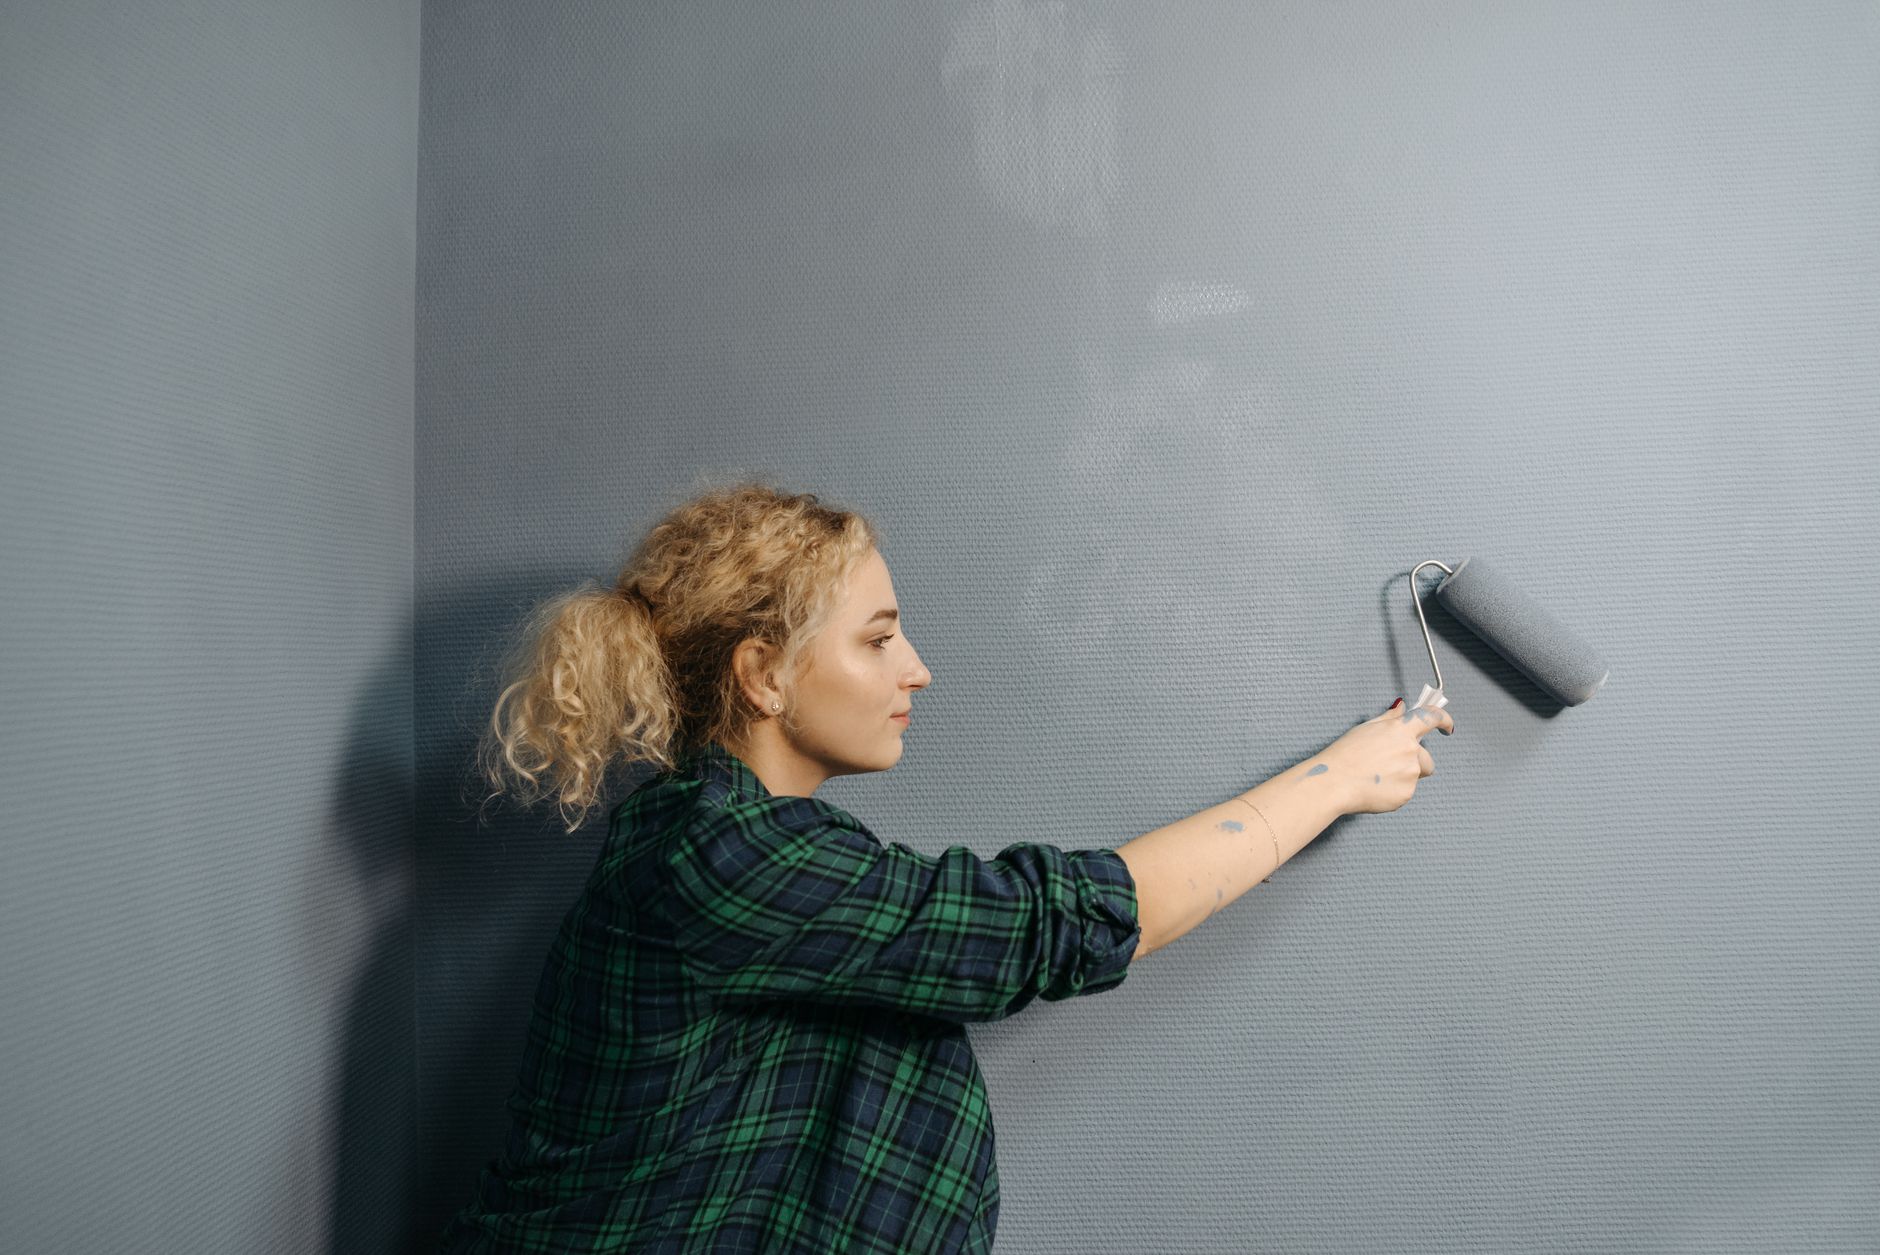
Young woman uses a paint roller to apply grey paint on an indoor wall, renovating her space in Pasadena, CA

A bathroom is the smallest room in a house and the hardest one to paint well. Everything that attacks a coating happens in there, several times a day, in a space the size of a closet. A hot shower takes the humidity to saturation in about two minutes. That wet air then meets an exterior wall and a ceiling with nothing above it but an unheated attic, and the water it was carrying condenses on exactly the surfaces that were painted last. Soap film, shampoo and aerosols land on the walls. Then somebody scrubs the whole room with a cleaner formulated to strip the sort of film a painter spent two days building.

Because of that, the failures in a bathroom are not random. There are five of them, they recur in the same places house after house, and each has a different cause: paint lifting in a sheet off the ceiling over the shower, dark speckling creeping along the ceiling line and into the cold corner, tan glossy streaks running down a wall painted last week, blistering just above the tub surround, and a caulk joint that has gone grey and then black. Only one of those five is solved by buying better paint. The bathroom is therefore a useful test question for painting contractors pasadena homeowners are considering for interior work: ask what happens to the ceiling above the shower, and the answer covers most of what you need to know about the rest of the house.

Interior scopes vary far more between bids than exterior ones do, and the variation lives in the preparation lines rather than the finish lines. The level of detail a crew gives about interior cleaning, mildew treatment and primer choice, whether in the written scope or in the interior services description on the pasadenaelitepainting.com website, is the part worth comparing, because in a wet room the two finish coats everybody can see are the cheap half of the work. What follows is the half that decides the outcome.

Mildew is alive, and paint does not kill it

The black or dark green speckling in a bathroom corner is usually mildew, a surface fungus living on the film and on whatever soap residue and skin oil has collected there. It grows where moisture lingers and air does not move: the ceiling line above the shower, the cold corner on an outside wall, the wall behind the toilet tank, the underside of a window stool, and the ceiling of a shower stall with no fan.

The first thing to establish is whether it is mildew at all, because a smoke stain, a rust mark and a dirt shadow all look similar in a dim room. Put a drop of household bleach solution on a spot and wait a minute. Mildew lightens or disappears. Dirt and stains do not react.

What comes next is the step skipped on almost every repaint that fails within a year. Mildew has to be killed and then washed off the surface. Priming over live growth seals it in with its food supply and a fresh film to colonise, and it returns following the same pattern it had before, because that pattern is drawn by where the condensation lands rather than by the paint. The work is a proprietary mildew cleaner or a dilute bleach solution with detergent, given dwell time, agitated, rinsed and dried.

A mildewcide in the can is misunderstood just as often. It is a preservative that resists growth on the new film, and it is worth having in a bathroom product. It is not a treatment, it does nothing about what is already on the wall, and it is no substitute for washing.

Why the paint peels above the shower and nowhere else in the house

Peeling confined to one part of one room is an adhesion failure, and in a bathroom there are two usual culprits sitting on the surface.

The first is condensation. A ceiling over a shower spends part of every day with liquid water on it. An ordinary flat ceiling paint is porous by design, it absorbs that water, and the film swells and relaxes through hundreds of cycles until it lets go, usually starting at an edge or a weak patch.

The second is invisible and catches more crews. Bathroom walls carry a chemical history. Aerosol hairspray lays down a genuine lacquer film on the wall and ceiling around a mirror. Body oils, conditioner, shaving foam and years of cleaning spray leave a residue on the lower walls and the inside of the door. All of it is a bond breaker, and paint rolled straight over it looks perfect for a month and then comes away in a flexible sheet with a slick back to it.

So the sequence in a wet room is wash, degloss, prime, then paint. The wash is a detergent or a light degreaser rather than water, with a rinse, because a cleaner's own residue breaks a bond as effectively as the grime did. The primer is chosen by condition: a bonding primer on slick surfaces, a stain blocking primer where there is a water mark, and a sealer on bare plaster or fresh patching compound. A ceiling that has already failed once is scraped back to sound material and feathered, because a new film is only as well attached as the layer it lands on.

The tan streaks that appear on new paint overnight

This one alarms people and is usually harmless. A wall painted in the afternoon, used for a shower that evening and inspected the next morning shows glossy tan or amber drips running down it, sometimes slightly sticky.

That is surfactant leaching. Waterborne paints contain water soluble ingredients that help the paint flow and stay stable in the can, and they are meant to leave the film as it cures. When a fresh film is hit with condensation before it has had time to dry, those materials dissolve and migrate to the face of the paint, where they collect and run. Deep colours carrying a lot of colourant show it most.

The fix is to wash it off with water and a soft cloth while it is young, and to repeat that if it recurs over the next couple of days. What does not help is another coat of paint, which adds more of the same ingredients and traps the problem under a new film. Prevention is a scheduling matter rather than a product one: ventilate hard and keep steam out of the room for as long as the product's own directions say. In a one bathroom house that is a conversation for the estimate, not a surprise on day two.

Ventilation is part of the job even though it is not painting

The most common reason a bathroom ceiling fails twice is that nothing is removing the moisture. A fan undersized for the room, or switched off the moment the shower stops, leaves the room to dry through its surfaces.

Two conditions are worth checking before anyone paints. First, the fan has to run long enough, which usually means well after the room is empty. Second, and this is the one that produces repeat failures, the duct has to discharge outside the building. A fan that dumps into the attic pumps saturated air against the back of the ceiling that was just coated, and that ceiling then fails from above while the painting looks blameless. It is somebody else's trade to fix, and it belongs on the list before the primer rather than after the complaint. A crew that puts its head through the attic hatch and mentions it unprompted has done this work before.

Sheen, scrub resistance and what belongs on a bathroom ceiling

The old rule was semi gloss everywhere in a bathroom, on the belief that sheen equals water resistance. It does not, quite. What matters is the resin and the formulation, and modern coatings made specifically for bathrooms and kitchens carry both moisture resistance and a mildewcide at lower sheens.

The practical settings are a washable eggshell or satin on the walls, where the finish has to survive being wiped often, and satin or semi gloss on the trim, the door and any shelving, because those take handling and were built straight enough to carry sheen without showing their shape. The ceiling is the decision people get wrong. An ordinary flat ceiling paint in a wet room is the thing that peels. A ceiling product rated for a bathroom, or at minimum a moisture resistant interior paint in a low sheen, lasts the way the walls do.

Where paint stops and caulk, grout and plumbing begin

A wet room has joints that paint has no business crossing, and the sealant is chosen by whether the joint gets wet.

The joint between a tub or shower pan and the wall, and the top edge of a tile surround, are wet joints. Those take a mildew resistant silicone or a hybrid sealant, and the trade off is that silicone cannot be painted, ever, with any primer. A bead of ordinary paintable acrylic run into a wet joint because it finishes neatly fails within a year and goes black while it does it. Dry joints, casing to wall and baseboard to wall away from the tub, are where a paintable siliconized acrylic belongs.

Three things in a bathroom are not paint problems at all, and recognising them early saves money. Failing grout and a loose tile are a tile repair. Blistering that returns within months on a correctly prepared wall usually means water is arriving from behind, from a pan, a supply line or a failed surround, and no coating on the room side will hold it. A wall or ceiling that feels soft under thumb pressure has been wet a long time, and that material is replaced rather than coated.

The laundry alcove, which rarely reaches the scope

One other room in most houses of this age behaves like a bathroom and is usually left out of an interior quote. The laundry alcove or service porch off the kitchen gets warm moist air released straight into it by a dryer duct with a loose joint or one blocked with lint, and the ceiling above the machines then behaves exactly like a ceiling above a shower. Lint on the walls is a bond breaker in its own right, so that ceiling gets the same wash, prime and product decision as the bathroom rather than a coat of whatever is left over.

What a good scope says about a wet room

It names what the mildew is treated with and confirms it is killed and rinsed rather than coated over. It says what the walls are washed with, and that they are rinsed. It names the primer by type and which surfaces get it. It specifies sheen and product by surface, with the ceiling called out separately. It records the condition of the fan and where its duct goes. It gives the sealant type for wet joints and dry ones. And it states how long the room stays free of steam after the last coat.

That is seven lines. A crew that can produce them standing in the room has painted a lot of bathrooms, and in a wet room that experience is most of what is being bought.

House Painting in Pasadena: Why New Latex Peels Off Old Trim and Doors

A skilled male painter working in his art studio, surrounded by abstract paintings in Pasadena, CA

The new latex is not failing because it is latex. It is failing because it was asked to grip a hard, slick oil or alkyd enamel that has been on the trim for decades. Latex needs a surface with some tooth and a primer that bridges the two finishes. On a glossy old layer it has neither, so it lets go in sheets, strips or long ribbons along a door edge.

Read the Flake Before You Buy Anything

In a house with many paint layers, the peeled piece is the best evidence. Turn it over. A smooth, shiny underside means the new coat never bonded to the old gloss; the failure is at the interface, not in the wood. A crumbly underside, bare wood or a powder-like layer points to moisture, dirt or an older coat that was already letting go. The same clue explains why one door peels at the bottom edge and another peels along the casing: the weak layer sits in a different place.

Old Pasadena trim often carries oil enamel over original shellac or varnish. In neighborhoods such as Bungalow Heaven and Madison Heights, that stack can include several generations of paint, each slicker and harder than the last. A new latex coat may look perfect for a week and then lift when the seasons move the wood.

The Alcohol Rub and the Tape Test

The alcohol rub is a quick way to read the surface. Find a hidden spot, soak a cotton pad with denatured alcohol and rub firmly. Paint that softens or transfers to the pad is likely latex. A surface that stays hard and clean is likely oil. Old shellac can also react to alcohol, so treat the result as a clue and confirm it with the tape test rather than as a final answer.

For the tape test, score a small crosshatch through the existing finish with a utility knife, press painters tape down firmly and pull it off fast. Flakes on the tape mean the old coating is not well bonded. No topcoat can repair that. The loose layer has to be removed or stabilized first.

Before any scraping or sanding, treat old layers as possibly containing lead in a home built before the late 1970s. Use a lead check kit or a qualified tester. If lead is present or the answer is unknown, skip dry sanding, power sanding and high temperature heat guns. Wet scraping, wet sanding, plastic sheeting and a HEPA vacuum keep the dust contained, and children and pets should stay out of the room.

Why the Old Gloss Wins

Latex paint forms a film by drying and coalescing. It can bond well to a clean, dull, slightly porous surface. A cured oil or alkyd enamel is the opposite: hard, smooth and often sealed. The latex sits on top like a skin rather than knitting into the old coat. When the door flexes or the trim expands, the weakest plane is the new paint against the old gloss, and that is where the peel begins.

A paint and primer in one product is not a universal bridge to old oil enamel. Some of these products work well on properly prepared surfaces, but the word primer on the label does not replace the need to identify and treat a slick layer. Sanding alone does not solve it either. Dulling the gloss helps, yet a bonding primer is still the layer that gives the latex something to hold.

Latex over oil does not always fail. The finish can last when the old surface is cleaned, dulled, primed for the slick layer and topcoated in thin coats. The failure is a preparation failure, not a rule about the two chemistries.

Prep That Earns Adhesion

Wash, Then Scrape

Grease and skin oils collect on kitchen trim, the edges of doors and the area around light switches. They are invisible after a quick wipe and very good at blocking adhesion. Wash with a degreasing cleaner, rinse with clean water and let the wood dry completely. After wildfire smoke drifts down from the San Gabriel Mountains, a thin soot film can settle indoors as well, so wash those surfaces before any sanding.

Scrape all loose and lifting paint back to edges that are firmly stuck. Paint applied over a peeling layer will fail with that layer, no matter how well the new coat is applied. If a section crumbles away easily, keep going until the surface is sound.

Dull the Gloss and Prime

Once the surface is clean and sound, dull the remaining gloss. Fine grit paper or a sanding sponge works, and a liquid deglosser is useful where dust is a concern. Wipe off all dust before priming. The primer is the real bridge: choose a bonding primer made for slick surfaces, or an oil based or shellac based primer. On bare old wood, shellac based primer also helps block tannin bleed and sap from knots that would otherwise stain a light color.

Fill dents and gouges after priming, not before. Sand the filler smooth and spot prime the repaired areas. If the filler is left unprimed, the topcoat can dry with a different sheen over the patch.

A Topcoat Built for Trim and Doors

Wall paint is not the best choice for trim and doors. A paint sold for trim or cabinets, such as an acrylic enamel or a waterborne alkyd, levels out smoother and stands up to scuffs and cleaning better. Apply two thinner coats rather than one heavy one. A thick coat can skin over while the material beneath is still soft, which invites brush marks, runs and poor cure.

Take off hinges, knobs and strike plates instead of painting around them. Paint on hardware cracks when the hardware moves, and those cracks can start a peel at the door edge.

At trim joints, use a paintable acrylic or acrylic latex caulk. Pure silicone repels paint, so the topcoat may pull away or form fisheyes along the joint. Caulk cannot rescue paint that is already peeling underneath; it is a finishing step after the old finish is sound, not a repair for a failing layer.

Pasadena Heat, Wind and Cold

Pasadena summers are hot and dry, and trim paint can dry too fast. Lap marks and brush lines show up when the edge of a wet coat sets before the next stroke blends into it. Paint in the cooler part of the day and keep strong sun through windows off the surfaces being worked on.

Santa Ana wind days bring very dry, dusty air. Close the windows while enamel is wet so grit does not settle into the finish, and expect a faster working time. On cool winter mornings, an unheated room can fall below the minimum temperature printed on the can. Paint applied too cold may never form a proper film and can fail months later. Read the can and keep the room within its range.

Dry to the touch is not cured. Leave doors and window sashes open, and avoid closing them firmly for several days. Freshly painted surfaces can stick together and tear, especially where a door meets its jamb.

Joints, Sills and Original Wood

Ground movement and seasonal swings in this region open small gaps at trim miters and where casing meets the wall. A flexible paintable caulk handles that movement better than a rigid filler, which can crack and take the paint with it.

Window sills and sashes on south and west windows take the most heat and sun. Check them for soft or gray wood and repair or consolidate it before priming. Paint will not hold on rotted wood, and a fresh coat can hide the problem for only one season.

Before painting clear finished original woodwork, pause. In homes influenced by the craftsmanship seen at the Gamble House, unpainted original wood is often valued, and paint is very hard to remove once it is on. Paint the trim that was already painted and leave the natural wood alone unless there is a clear reason to change it.

What a Painter Does Differently Next Time

A painter who expects the finish to last works in a sequence: identify the existing coating, test for lead, wash, scrape to sound edges, dull the gloss, prime for the slick surface, fill and spot prime, then topcoat in thin coats with the right trim product. Each step answers a specific failure. Skipping one moves the failure to the next coat.

The reason new latex peels from old Pasadena trim is usually found in the first inch of the repair, not in the last. Read the flake, test the layers, remove what is loose and put a proper bonding primer between the old gloss and the new paint. Do that, and the next coat has a surface it can actually hold.

Painting Over Old Plaster Walls

Step inside an older Pasadena home and tap a wall with your knuckle. A hard, dense sound instead of a hollow one usually means plaster. Pasadena grew quickly in the early twentieth century, and the Craftsman bungalows and period revival houses of that era, including those in the Bungalow Heaven district, were commonly built with plaster over wood lath. That finish is durable and quiet, and it also behaves very differently from drywall when you pick up a roller.

How plaster walls are built

Traditional plaster is applied in layers. A rough scratch coat is pushed into narrow wood strips called lath, a brown coat builds the thickness, and a thin finish coat gives the surface its smoothness. Some homes use plaster over metal lath or masonry instead. The result is a wall that is often thicker, heavier and denser than modern gypsum board.

Because each layer was applied by hand, the surface carries slight waves and trowel marks. Those subtle variations are part of the character of a historic interior, and a good repaint respects them instead of fighting them.

Why the surface needs a different approach

Drywall has a paper face that accepts almost any paint. Plaster is mineral, porous and often alkaline when it is fresh, and over decades it has collected layers of old paint, wallpaper paste, smoke and cooking residue. Each of those layers affects adhesion.

  • Fresh or bare plaster can pull moisture out of water based paint too quickly, leaving a chalky film.
  • Old glossy enamel resists new coatings and will let them peel away.
  • Wallpaper adhesive that remains on the wall will bubble under latex paint.
  • Soot and grease prevent paint from bonding.

For these reasons, preparation takes more of the job than painting does.

Start with an honest inspection

Before choosing a product, walk the room and map what you see. Tap along the wall and listen for a change in sound. A dull, hollow tone in one area suggests that plaster has separated from the lath. Press gently on bulges to see whether they flex. Look at ceilings in particular, since gravity makes loose plaster there a safety issue, and call in a plasterer if sections sag.

Check the condition of the cracks too. Fine hairline cracks are common and expected. Long diagonal cracks above door frames, and cracks that reopen every season, can signal structural movement, which paint will not cure.

Lead safe practices in older homes

Many Pasadena houses predate 1978, when lead based paint was no longer used in homes. Layers of old paint on trim, and sometimes on plaster walls, may contain lead. The safest approach is to test suspect surfaces with a lead test kit or a lab, then follow lead safe practices when the surface will be disturbed.

Those practices include sealing off the work area, covering floors, misting surfaces before scraping, avoiding dry sanding and open flame, using a vacuum with a HEPA filter and keeping children and pregnant women away from the area. Professionals who disturb paint in pre-1978 housing are expected to be trained in them. A contractor who dismisses the question deserves a second look.

Cleaning, degreasing and removing what does not belong

Cleaning is the unglamorous first step. Dust the walls and ceiling, then wash with a mild detergent solution or a degreaser in kitchens, where cooking film settles. Rinse and allow the plaster to dry. Do not saturate it, since plaster can absorb water and take days to dry out.

Remove any loose wallpaper and its adhesive with a scraper and warm water, working gently so the finish coat of plaster is not gouged. Paint over leftover paste will lift, so patience here pays off later.

Repairing cracks and holes

Hairline cracks can be filled with a flexible patching compound or a lightweight spackle. Wider cracks need to be opened slightly with a utility knife, cleaned of dust and filled with a setting type joint compound or a patching plaster. Mesh or fiberglass tape across a larger crack reduces the chance of the crack returning.

Holes and missing chunks call for patching plaster, applied in thin layers and allowed to cure fully. Rushing a patch causes shrinkage lines that reappear through the finish. When the repair is dry, sand it level with the surrounding wall.

Be careful with sanding dust. Plaster dust is fine and travels, so wet sanding with a sponge or using a sander connected to a vacuum helps keep a house tidy.

Sanding, de-glossing and caulking

Once the wall is repaired, lightly scuff glossy surfaces with fine sandpaper or use a liquid deglosser so new paint can grip. Wipe down the dust afterward with a damp cloth. Seal gaps where plaster meets wood trim with a paintable caulk. A thin line of caulk along baseboards and casings hides the small gaps that form as an old house shifts, and it gives the finished room a crisp edge.

Priming: the step that decides the result

On plaster, primer is not optional. It equalizes porosity so the topcoat dries evenly, locks down stains and seals the alkaline surface.

  • A bare or freshly patched plaster wall usually needs a dedicated primer sealer, because patches absorb differently than the surrounding wall and will show as dull spots, called flashing, through a plain topcoat.
  • A wall with water stains, smoke marks or tannin bleed needs a stain blocking primer, sometimes oil based, so the marks do not return through the new finish.
  • A wall coated in sound old paint may only need a bonding primer to improve adhesion.

Test a small area before committing the whole room. Primer that peels from a test patch will peel across the room.

Choosing paint and sheen

Acrylic latex is the usual choice for interior plaster because it is flexible, low in odor and cleans up with water. Oil based enamel is still used on woodwork and in a few specialty situations, because it levels well and hardens thoroughly, but it yellows over time and releases strong fumes.

Sheen affects how forgiving a wall will be.

  • Flat or matte finishes hide the waves and trowel marks typical of old plaster, which is why many restorations favor them for walls and ceilings.
  • Eggshell and satin finishes offer more washability, useful in hallways and children's rooms, but they reveal imperfections under raking light from a window.
  • Semi-gloss belongs on trim, doors and cabinets where scrubbing is frequent.

If your Pasadena home gets strong afternoon light through large windows, test the finish on the wall at several times of day before you decide.

Applying the topcoat

Apply two coats, with proper drying time between them. Cut in the edges with a brush first, then roll the field using a roller cover with a nap suited to the surface. A slightly thicker nap handles a textured plaster finish better than a thin one, and a smoother finish takes a short nap.

Keep a wet edge, work from top to bottom and maintain steady lighting so you can see missed spots. Back-rolling immediately after a spray application is a common technique that works paint into the surface and avoids a sprayed look.

Ventilate the room, since plaster takes time to release moisture, and avoid painting in very humid conditions. Pasadena summers are dry, which helps drying times, but cool damp winter days can slow things down.

Mistakes that cause repeat work

  • Painting over wallpaper residue or soot without cleaning or sealing it.
  • Skipping primer on patched areas.
  • Using heavy, thick coats that crack as they dry.
  • Sanding dry in a house that may contain lead paint.
  • Covering active water stains without finding the leak.

When to bring in a professional

A small bedroom repaint can be a manageable weekend project. Whole house work, large ceiling repairs, stains from leaks and anything involving possible lead should go to someone with the right training. When you gather a bid, ask for a scope of work that lists the preparation steps, the primer, the paint line and the number of coats, so the proposal covers more than the visible color.

Respecting the character of old walls

Plaster is a feature, not a flaw. Done well, a repaint keeps the soft, hand made quality of the wall while giving it a clean, even finish, and it can last for many years. The effort goes into the quiet work of inspection, repair and priming, and the paint itself is the last and simplest step.

Who we are

This part of Interior Colour Journal is given over entirely to interior painters in Pasadena, CA, from first specification through to what the finished work should look like.

About This Section